Configuring the Propuskator controller and linking access points
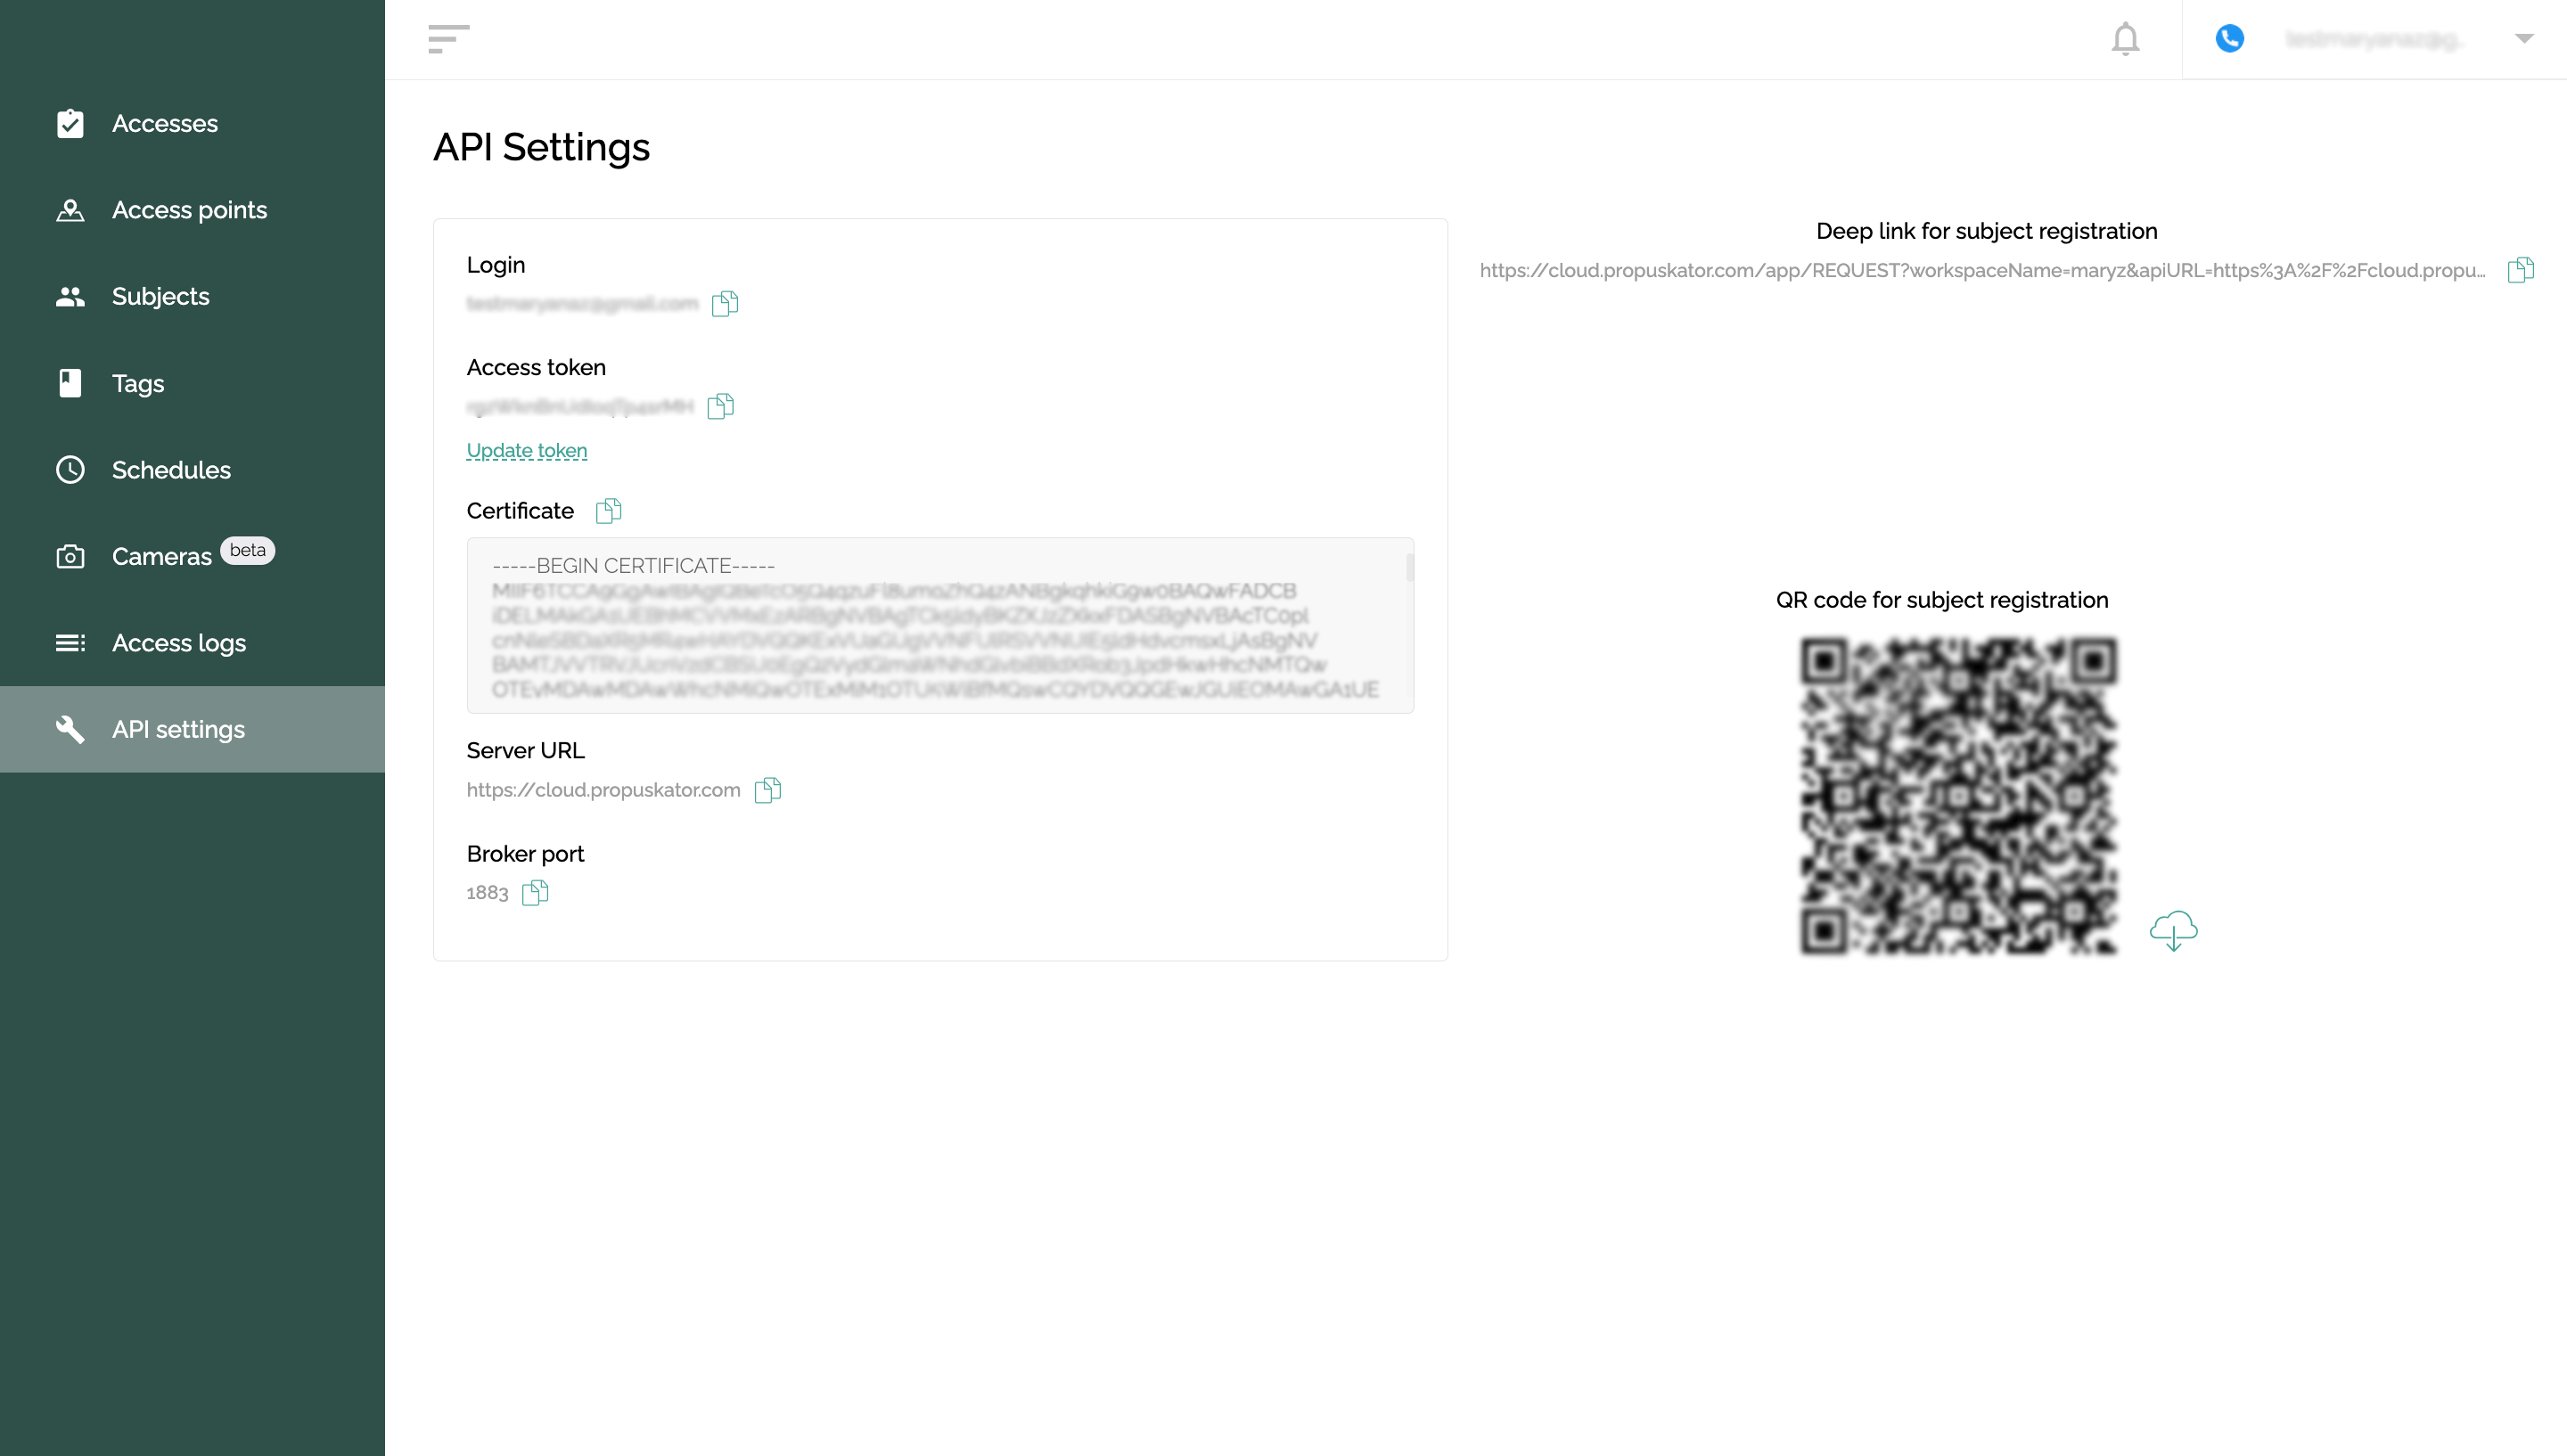
Now you need to configure the Propuskator controller to work in your ACS. To do this, go to the “API settings” section in the web interface. Here you will get all the necessary data to configure the controller.
- Leave the API settings page open.
- Go to the Wi-Fi settings of your device (laptop, tablet, or phone) and find the hotspot of the enabled controller. The hotspot name is the mac-address of the device (in the screenshot, this is “CP-e0-e2-e6-d8-d1-78”; in your case, the character set will be different).
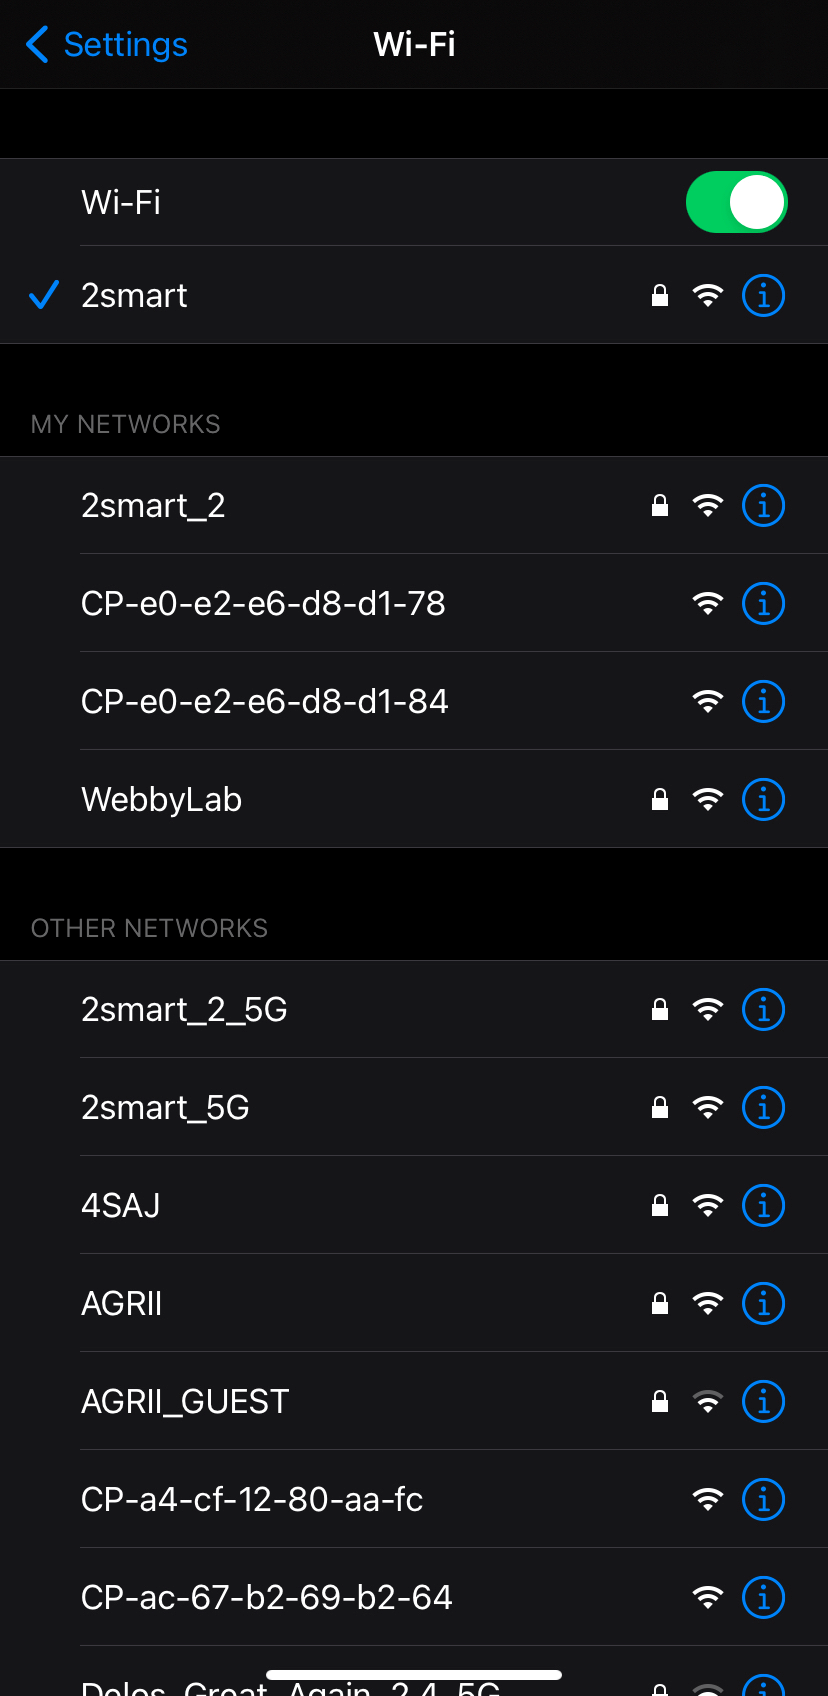
- Connect to the controller hotspot.
- Enter the device address — 192.168.4.1 in the browser's address bar and enter the controller interface.
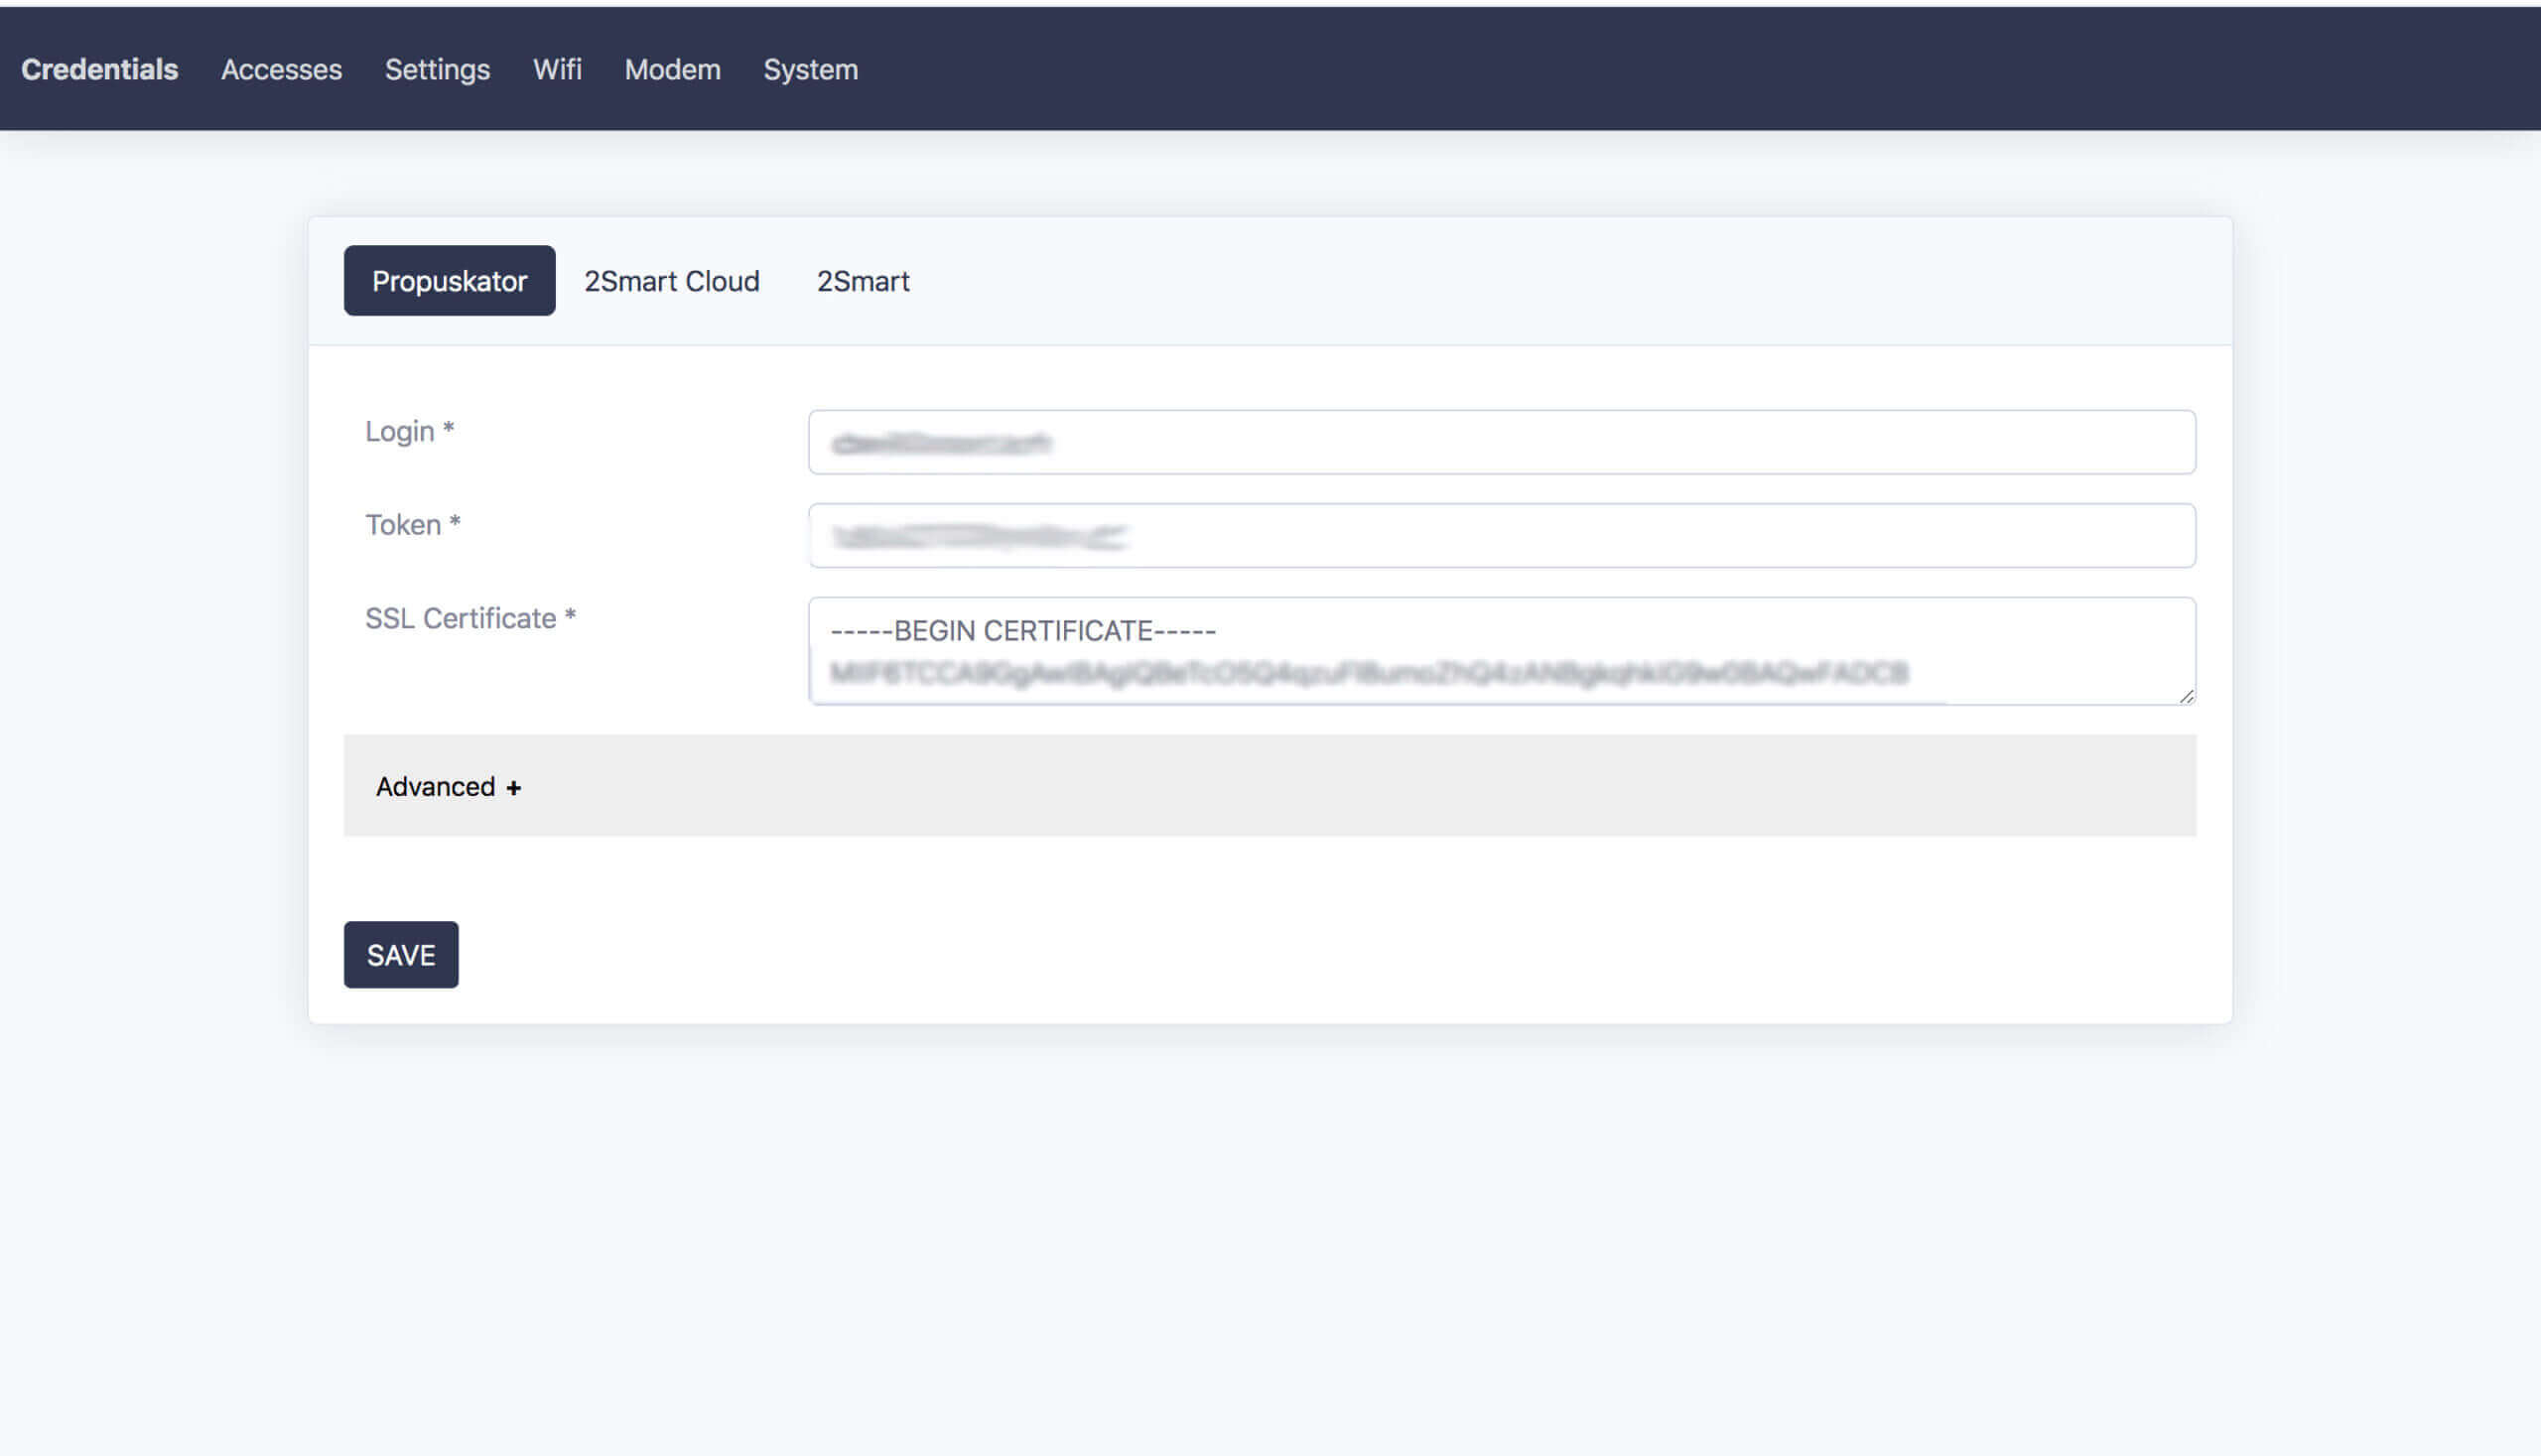
- Go to the "Credentials" - "Propuskator" tab.
- Copy the “Login”, “Token”, and “SSL Certificate” fields from the Propuskator web interface (the “Server URL” and “Broker Port” fields are already filled in by default). Use the "Copy text" icon next to each entry for a quick copy.
- Click "Save". Please note that the controller will reboot, and your device may automatically revert to your home or office Wi-Fi network. When proceeding with the following steps, ensure you are still connected to the controller's hotspot!
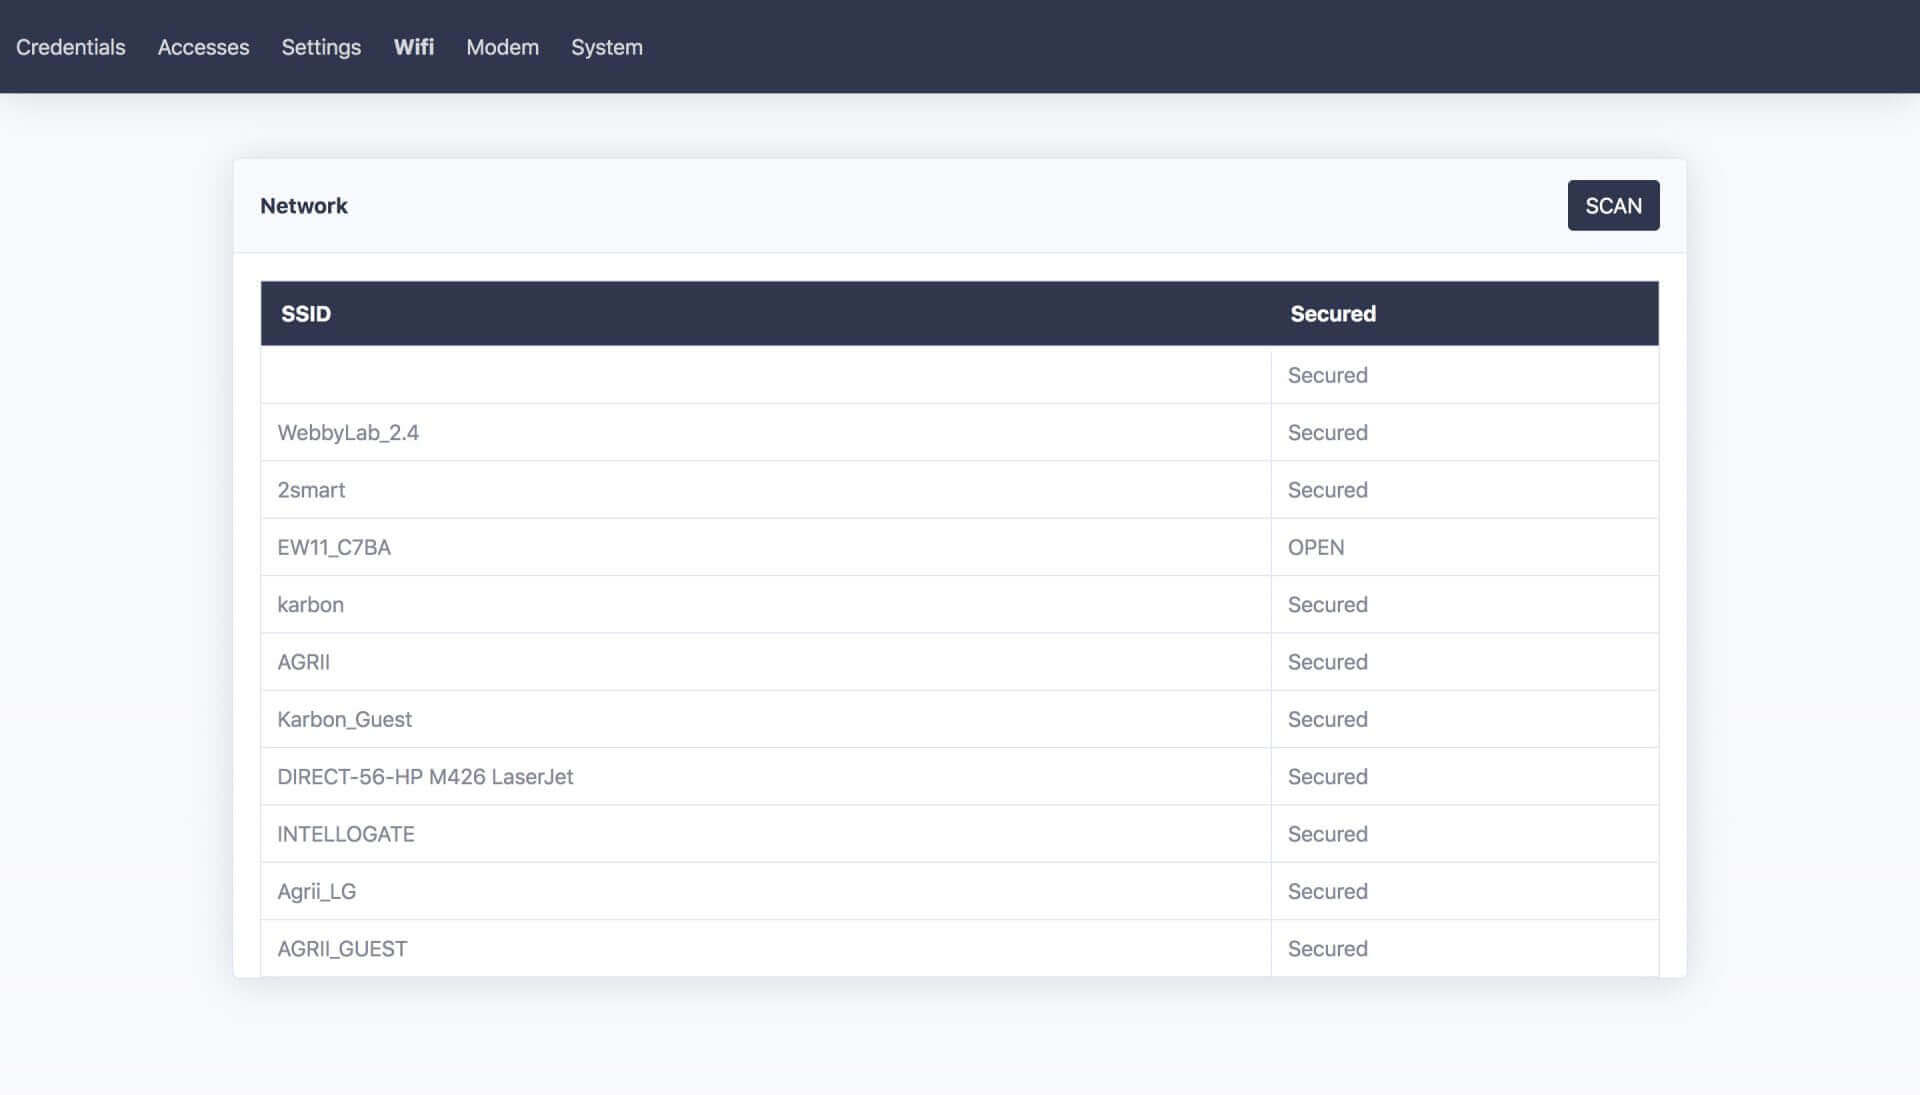
- Go to the "Wifi" tab and select your home or office network (Please note: only 2.4GHz Wi-Fi networks are supported!).
- Enter your network password and click “Save”.
- Return to your regular Wi-Fi network and wait for the controller to reboot.
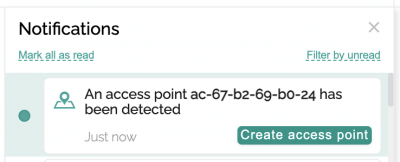
The controller is now connected to your network - a corresponding notification will appear in the web interface. After linking the controller, you can proceed with further settings.