Setting up accesses
After completing the basic settings, you can flexibly configure users' access rights. For example, allow a specific employee to enter only certain rooms and only at the time allowed for them.

- Go to the “Accesses” tab.
- Click the "Create access" button.
- Add one subject or multiple subjects that will get the same rights.
- Select the spaces that the specified subject will have access to.
- Select one or more access schedules for the subject.
- Click the "Create" button.
Additional actions (editing, archiving, and removing)
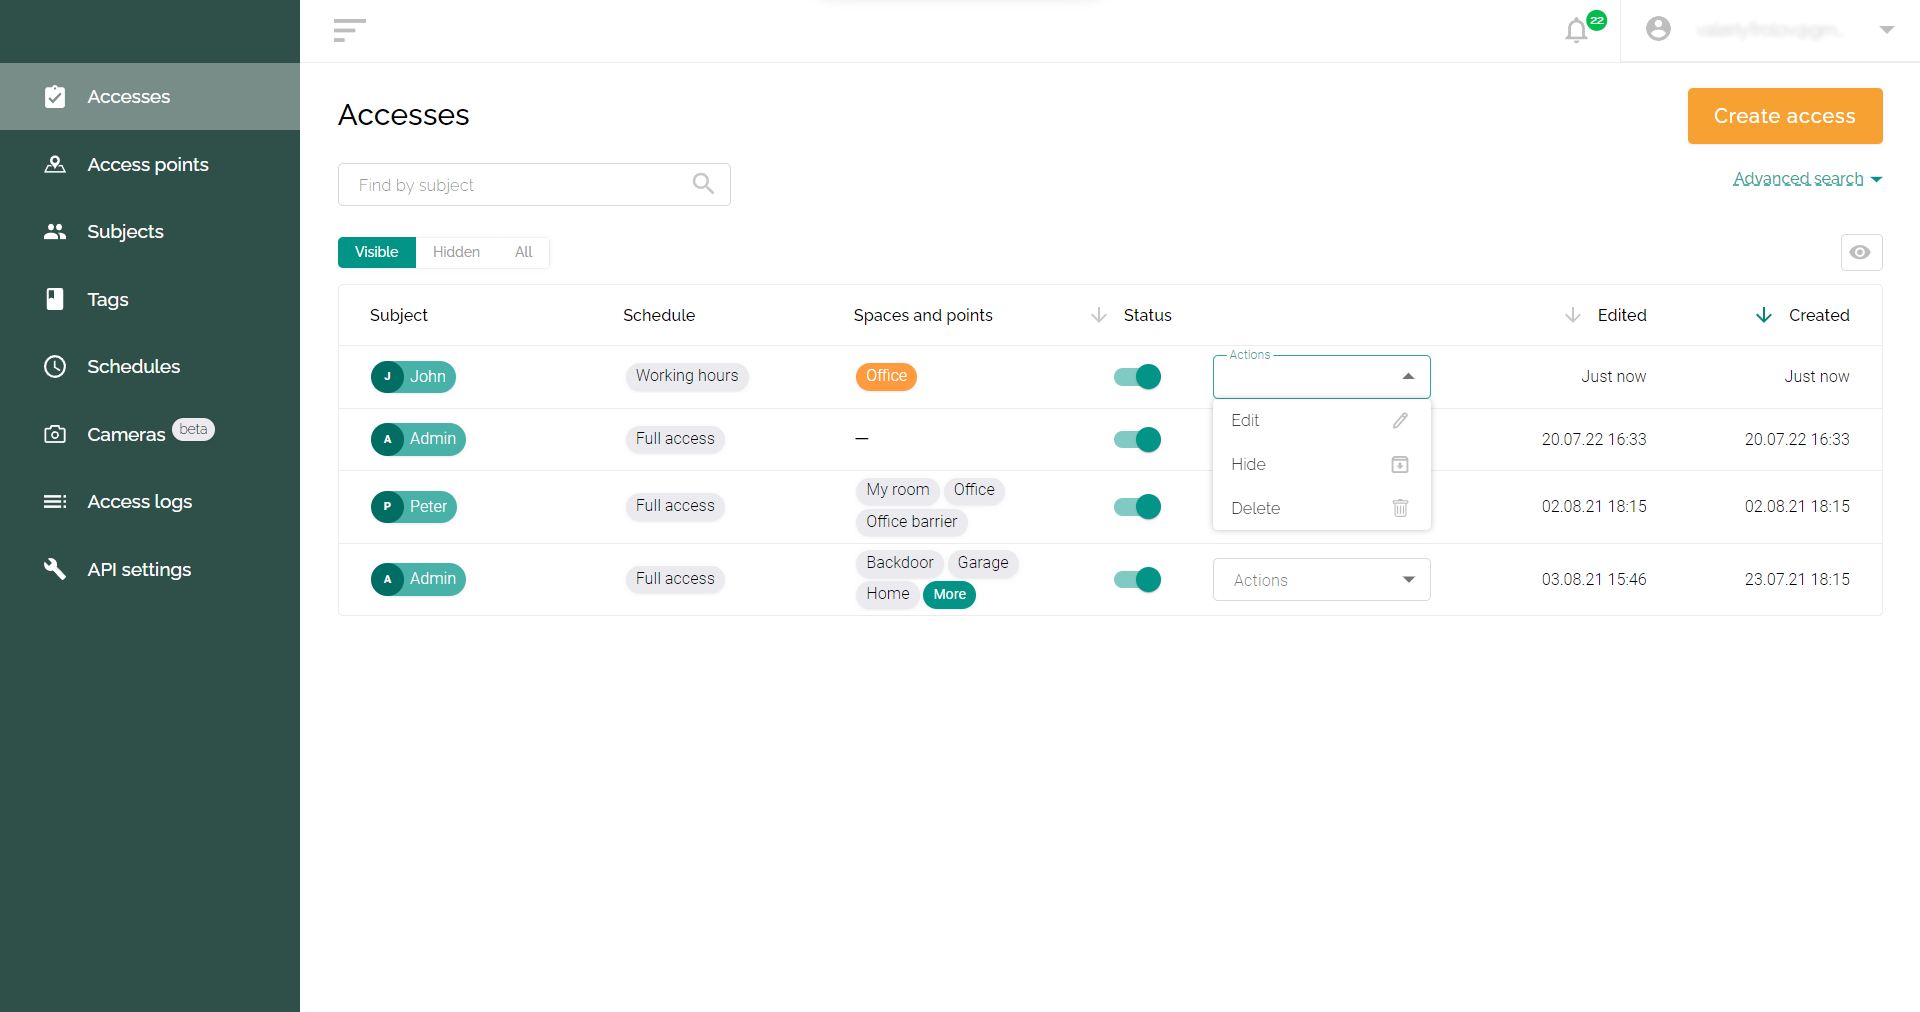
- Editing - editing lists of subjects, spaces, and schedules for access. To do this, on the “Accesses” tab, click on the “Actions” drop-down list and select the “Edit” item. After making changes, click the "Update" button.
- Hide (archive) - after selecting the “Hide” item in the drop-down menu, your access will be turned off and moved to the “Hidden” tab. It can be returned to “Visible” at any time; for this, you need to turn it on by clicking on the red switch in the “Status” column.
- Delete - when you select "Delete" in the drop-down list, the access is removed from the list and the system.